Organizing old physical photos at home can be a fun and meaningful way to preserve memories. Over time, photos can pile up in boxes, drawers, or albums, making it hard to find your favorites or cherish those special moments. By organizing old photos, you can not only keep them safe but also create a beautiful collection to look back on. In this post, I’ll share simple tips to help you start organizing your old photos and keep them in great condition for years to come.
Rediscovering Memories
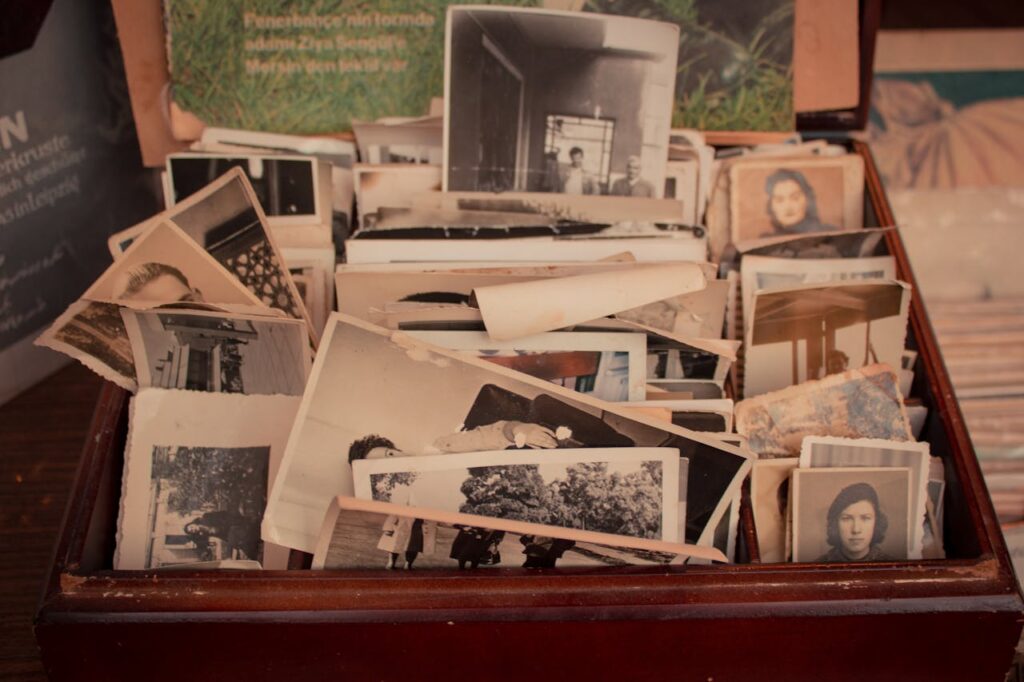
When my daughters were growing up, we used to get photos developed all the time. We had school pictures, soccer game shots, and other special moments all tucked away in Costco photo envelopes. As a single mom running my own business, I just didn’t have time to organize them. The photos sat in a big box for years, and I kept putting off sorting through them.
But recently, I felt a push to finally get to it. I pulled out that big box of memories, and at first, I was worried it would take forever to organize everything. To my surprise, once I started, it wasn’t as overwhelming as I thought. I began sorting the photos into categories—school events, family trips, holidays—and before I knew it, I was reliving all those memories.
Looking through those old physical photos was a trip down memory lane. It felt like I was right back in those moments, watching my daughters grow up, playing soccer, or going on family outings. Organizing old photos turned out to be not just a chore, but a wonderful journey of remembering the good times we shared.
How to Organize Your Photos
Organizing physical photos can feel like a big task, but it’s actually much easier than you might think. With a bit of planning, you can sort through all your photos and store them in a way that keeps them safe and easy to find. Here’s how to get started.

1. Collect All Your Photos
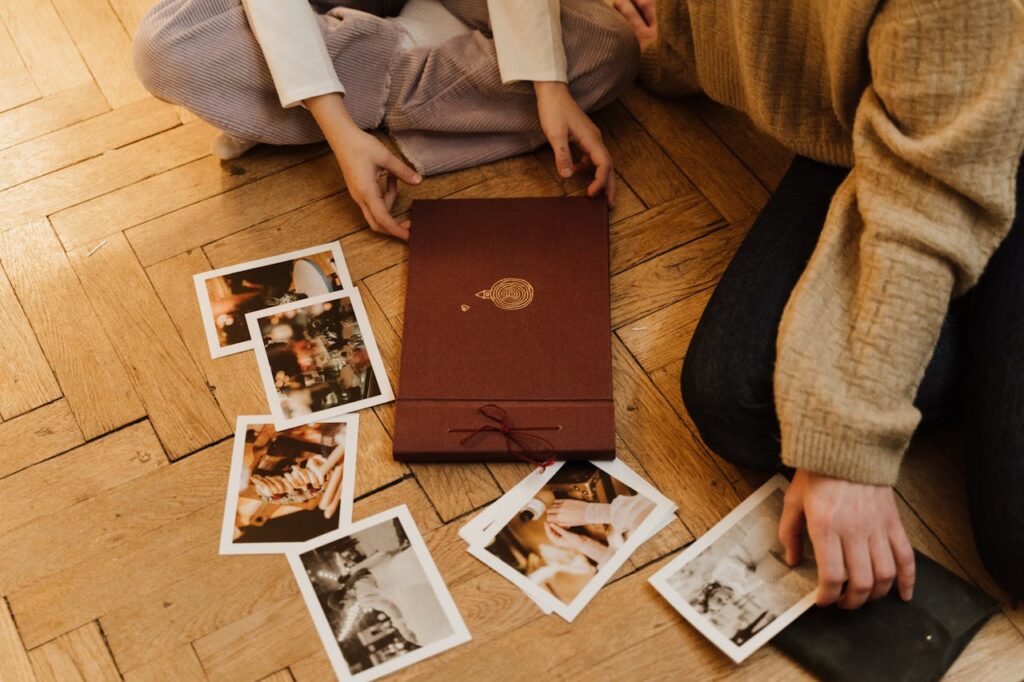
To start, gather all your physical photos from around the house. Check drawers, boxes, albums, or any other places where you might have stored them. Then, bring everything to one central spot so you can see exactly what you’re working with.
2. Sort by Event or Category
Start sorting the photos into categories. There are many ways you can do this, so choose what makes the most sense for you:
- By event: Holidays, birthdays, vacations, or special occasions.
- By year: If you have a lot of photos, you might want to organize by year.
- By people: Group photos by family members, friends, or pets.
3. Decide What to Keep
As you go through each photo, ask yourself if it’s worth keeping. Keep only the photos that hold special memories or are important to you. If some photos are blurry, don’t seem meaningful anymore, or are duplicates, it’s okay to let them go. Getting rid of duplicates will help you reduce clutter and make it easier to focus on the photos that truly matter.
4. Label and Organize Your Photos
Once you’ve sorted through the photos, it’s time to label them. If you’re storing them in boxes, use a labeler to write the label on the outside of the box (e.g., “Summer 2019” or “Christmas 2017”). If you prefer albums, organize the photos in order and add labels inside to help you remember when and where you took the photos.
5. Store Them Properly
Now that your photos are organized, store them in a safe place. Consider using:
- Photo boxes: These come in different sizes and keep your photos flat and protected.
- Photo albums: These are perfect for keeping your photos in good condition and easily accessible.
- Plastic sleeves: If you’re using albums, be sure to use acid-free photo sleeves to protect the photos from damage.
Make sure the storage is cool, dry, and dark, as sunlight, heat, and humidity can damage your photos over time.
6. Consider Digital Organization

If you prefer to keep your photos on a computer or phone, you might want to scan them to make digital copies. Some companies can scan your photos for you, but it can cost a lot of money. Scanning helps protect your photos from getting damaged and makes it easier to share and organize them.
If you’d rather do it yourself, there are apps like Photomyne or software that can help you scan your photos using your phone or computer. These tools make the scanning process simpler and faster.

Organize Your Photos to Preserve Memories
Just like organizing any part of your home, getting started is often the hardest part. But once you begin, organizing old photos becomes a rewarding task that helps preserve precious memories. Once done, you’ll be able to enjoy them for years to come—and you’ll be glad you did it.
Use a system that works for you. Whether you create albums, store photos in boxes, or digitize them, each method helps you stay organized and makes it easy to relive your favorite moments anytime. It may take some effort to start, but the results will be well worth it!
Looking for more organizing tips?
Be sure to check out my other posts on:
How to Clean and Organize Your Fridge


